Car ownership offers an unparalleled sense of freedom, allowing you to commute to work, embark on weekend road trips, and navigate daily errands with ease. However, along with the convenience of personal transportation comes the ongoing responsibility of vehicle maintenance and repair. Over time, every vehicle experiences wear and tear. Components deteriorate, fluid levels drop, and electronic systems occasionally glitch. Recognizing the early warning signs of common automotive problems and knowing how to address them can save you substantial time, stress, and money.
Understanding the underlying mechanics of your vehicle transforms you from a passive driver into an empowered vehicle owner. When you know what is happening under the hood, you can make informed decisions about whether a problem requires an immediate DIY fix or the expertise of a trained professional. This comprehensive guide breaks down the most frequent automotive issues across key vehicle systems and provides clear, actionable steps to resolve them safely and efficiently.
Dealing with Engine Performance and Starting Issues
Diagnosing a Vehicle That Refuses to Start
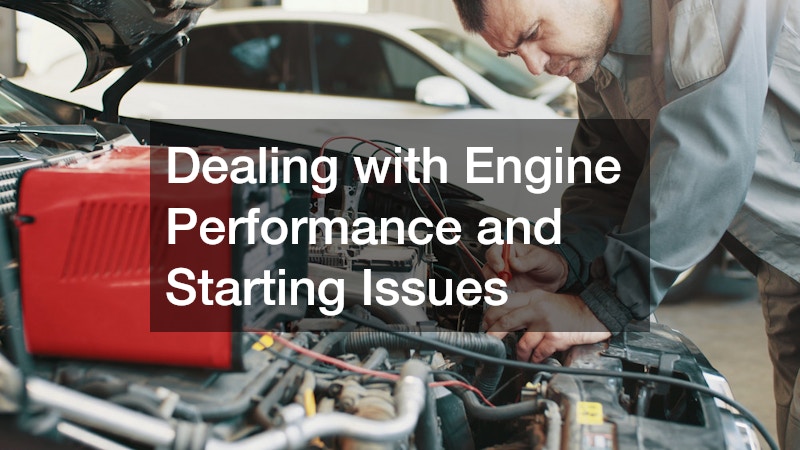
When you turn the key or press the start button and hear nothing but a click or a slow, struggling crank, the electrical system is usually the primary suspect. The most common cause of a dead vehicle is a depleted or failed battery. Automotive batteries typically have a lifespan of three to five years, after which their ability to hold a charge drops significantly. Cold weather, short trips that do not allow the alternator to recharge the battery, and leaving headlights or interior accessories on overnight can accelerate this process. If the battery is fully functional, the issue may stem from a failing starter motor or a faulty ignition switch.
Restoring Electrical Power and Battery Connections
-
Clean the battery terminals using a mixture of baking soda and water to remove white or greenish corrosion build-up that blocks electrical current.
-
Inspect the terminal clamps to ensure they are tightly fastened to the battery posts, using a small wrench to tighten them if loose.
-
Attempt a jump-start using jumper cables connected to a secondary operational vehicle or a portable lithium-ion jump starter pack.
-
Test the alternator output using a digital multimeter after starting the car; a reading between 13.5 and 14.7 volts indicates a healthy charging system.
-
Replace the battery if it fails to hold a charge after a complete cycle or if it shows signs of physical bulging or leaking.
Fixing Engine Misfires and Rough Idling
An engine that shakes, stutters during acceleration, or idles unevenly is experiencing a misfire. Misfires occur when one or more cylinders fail to complete the combustion process properly. This can be caused by a lack of spark, an incorrect air-to-fuel ratio, or a loss of mechanical compression. Ignoring a persistent misfire can lead to unburnt fuel entering the exhaust stream, which quickly ruins the expensive catalytic converter. The underlying culprits are often worn spark plugs, failing ignition coils, clogged fuel injectors, or vacuum leaks in the intake manifold.
Inspecting and Refreshing the Ignition System
-
Pull the diagnostic trouble codes using an OBD-II scanner to identify which specific cylinder is registering a misfire condition.
-
Remove and inspect the spark plugs for black carbon deposits, oily residue, or eroded electrodes, replacing them as a complete set if worn.
-
Check the gap on new spark plugs using a wire gauge to ensure it matches the manufacturer specification before installation.
-
Examine ignition coil boots for hairline cracks or carbon tracking, replacing damaged coils or ignition wires directly.
-
Perform a smoke test or spray carburetor cleaner around intake hoses while idling to locate vacuum leaks indicated by sudden changes in engine speed.
Addressing Overheating and Cooling System Failures
Engine overheating is an emergency situation that demands immediate action to prevent catastrophic internal damage, such as warped cylinder heads or blown head gaskets. The cooling system relies on a continuous loop of liquid coolant circulating through the engine block and radiator to absorb and dissipate heat. Common failure points include a stuck thermostat, a leaking radiator hose, a failed water pump, or a malfunctioning radiator cooling fan. If your temperature gauge spikes into the red zone or you notice steam rising from the hood, pull over safely to a complete stop.
Managing Heat and Fixing Fluid Leaks
-
Allow the engine to cool down completely for at least forty-five minutes before attempting to unscrew the pressure cap on the radiator or coolant reservoir.
-
Visually inspect upper and lower radiator hoses for bulging, soft spots, visible cracks, or wet residue around hose clamps.
-
Top off the coolant system using the exact antifreeze formulation specified in your owner’s manual, mixed in a fifty-fifty ratio with distilled water.
-
Check the cooling fan functionality by letting the car idle with the air conditioning turned on to verify that the fan blades engage properly.
-
Seek professional guidance from local auto engine repair technicians if you spot sweet-smelling white smoke coming from the exhaust pipe, as this signals an internal head gasket breach.
Troubleshooting Braking System Problems
Resolving Brake Squealing and Grinding Noises
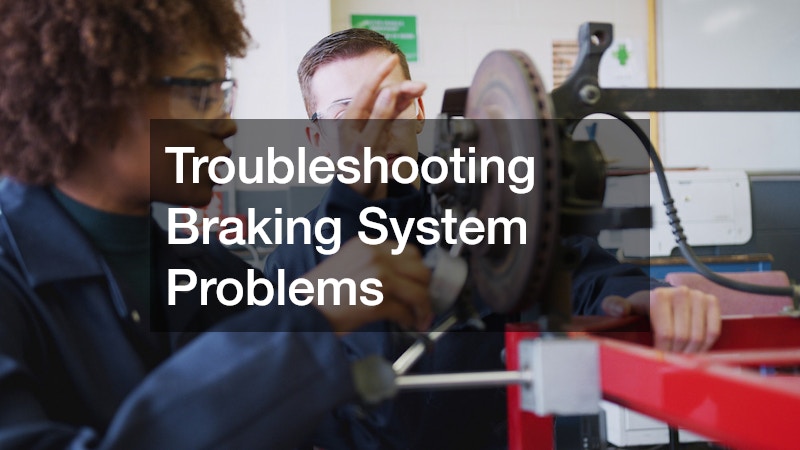
Braking systems rely on friction to bring thousands of pounds of metal to a complete halt. Over time, brake pads gradually wear down. Most friction pads feature built-in metal wear indicators that produce a high-pitched squealing sound when the pad material drops below a safe thickness threshold. If this sound is ignored, the friction material will wear away entirely, leading to a harsh metal-on-metal grinding noise. This grinding means the steel backing plate of the pad is actively damaging the smooth surface of the brake rotor, drastically reducing stopping power.
Replacing Worn Friction Components Correctly
-
Inspect pad thickness through the wheel spokes; replace pads immediately if the remaining friction material is less than one-quarter of an inch.
-
Compress the brake caliper piston using a specialized clamp tool before attempting to drop new pads into the carrier bracket.
-
Apply a thin layer of high-temperature silicone brake lubricant to the back of metal shim plates and sliding pins, keeping grease away from the friction face.
-
Measure rotor thickness with a micrometer and inspect the surface for deep grooves or heat spots before deciding to resurface or replace them.
-
Perform a proper brake repair procedure by bleeding the hydraulic lines to flush out moisture-laden fluid and eliminate spongy pedal feel.
Correcting Pedal Pulsation and Steering Wheel Shake
If your foot vibrates or the steering wheel wobbles violently when applying the brakes at highway speeds, you are likely dealing with uneven rotor thickness variation, often colloquially called warped rotors. When brake pads are applied against a rotor surface that is not perfectly flat, the caliper pulses back and forth, transferring that kinetic energy directly up through the brake pedal and steering column. Severe heat build-up from heavy braking down steep inclines or holding the brakes down hard after a rapid stop can cause this uneven transfer of pad material onto the rotor face.
Restoring Smooth Stopping Power
-
Loosen and torque wheel lug nuts to the manufacturer’s specification using a calibrated torque wrench to prevent uneven hub stress that warps rotors.
-
Clean the wheel hub mounting surface thoroughly with a wire brush to remove rust scales before sliding a new rotor into position.
-
Avoid aggressive, sudden stops during the first two hundred miles after servicing the brakes to allow the new components to bed in gradually.
-
Clean new rotors with dedicated brake cleaner spray prior to installation to remove the protective anti-corrosion oil coating applied at the factory.
-
Consult certified auto services to lathe-turn rotors if they possess sufficient thickness margins, or replace them entirely for optimal thermal performance.
Handling Steering, Suspension, and Alignment Vulnerabilities
Correcting Vehicle Pulling and Irregular Tire Wear
A vehicle should travel in a straight line on a flat road with minimal steering input. If your car continuously drifts or pulls toward the left or right, or if you notice the tread on the inner edge of your tires wearing out significantly faster than the outer edge, your alignment angles are out of balance. Hitting potholes, striking curbs, or driving over rough terrain can easily knock your suspension out of alignment. Incorrect camber, caster, or toe settings decrease fuel efficiency, degrade handling response, and drastically shorten the operational lifespan of your tires.
Adjusting Geometry and Inspecting Steering Components
-
Check and adjust tire pressure in all four tires to the recommended level printed on the driver-side door jamb sticker before testing alignment.
-
Inspect tie rod ends, ball joints, and control arm bushings for excessive play or torn rubber grease boots using a pry bar while raised.
-
Rotate your tires front-to-back and side-to-side periodically to ensure even tread wear across all four wheels.
-
Schedule a professional computer-guided frame alignment to precisely calibrate the steering geometry to original factory tolerances.
-
Replace worn struts or shock absorbers in pairs across the same axle to maintain equal damping force and ride height.
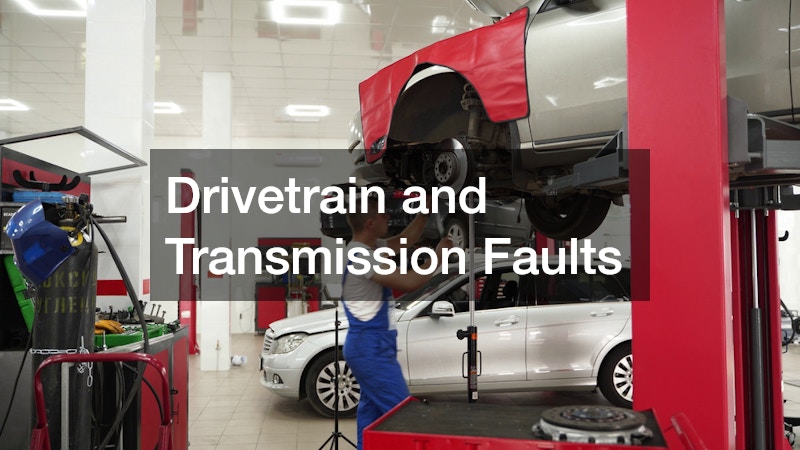
Drivetrain and Transmission Faults
Resolving Four-Wheel Drive Engagement Failures
Vehicles equipped with advanced traction systems rely on complex transfer cases, front axle locking actuators, and vacuum lines to route power to all wheels when required. When these systems fail, the vehicle may refuse to shift into or out of four-wheel drive mode, or it may exhibit loud clunking noises during engagement. Common triggers include failed electronic shift control modules, vacuum leaks in manual locking hubs, broken transfer case linkages, or fluid degradation. Neglecting drivetrain maintenance can leave you stranded in off-road or severe winter conditions.
Maintaining Transfer Case and Axle Systems
-
Check transfer case fluid levels regularly and change the fluid at the recommended mileage intervals to eliminate metallic debris.
-
Cycle the system into four-wheel drive once a month on loose surfaces like dirt or gravel to keep actuators lubricated and fully operational.
-
Inspect vacuum lines running to the front differential or hub locks for dry rot, cracks, or loose connections that bleed off pressure.
-
Check the electrical wiring harness connected to the transfer case shift motor for corrosion, frayed wires, or loose connector pins.
-
Schedule specialized 4 wheel drive repair if you hear persistent grinding noises while turning, which indicates binding in the differential or transfer case.
Vehicle Exterior and Structural Restoration
Repairing Structural Damage and Frame Integrity
Major impacts, severe pothole collisions, or rust accumulation can compromise the structural backbone of a unibody or body-on-frame vehicle. When the underlying chassis becomes bent or twisted, the safety crumple zones, door fitments, and suspension mounting points lose their engineering integrity. Driving a vehicle with structural compromises can lead to unpredictable handling, uneven tire wear that cannot be aligned, and reduced protection in future accidents. Restoring structural integrity requires specialized hydraulic pulling equipment and laser measurement systems.
Inspecting and Treating Structural Steel and Frame Sections
-
Examine the underside of the vehicle for buckled metal, cracked seam welds, or flaking paint along the frame rails after an impact.
-
Treat surface rust on the frame immediately by scraping away loose scale, applying a rust converter, and spraying a protective undercoating layer.
-
Check that all doors, the hood, and the trunk open and close smoothly without binding against surrounding body panels.
-
Seek assistance from dedicated auto body shops that possess three-dimensional laser measuring equipment capable of detecting structural deviations down to the millimeter.
-
Ensure all structural repairs comply with original equipment manufacturer guidelines to preserve designed crash safety zones.
Fixing Exterior Panel Denting and Paint Degradation
Daily driving exposes your vehicle to road debris, shopping carts, hail, and harsh environmental elements. Cosmetic damages like scratches, door dings, faded clear coat, and dented fenders may seem purely aesthetic, but leaving bare metal exposed to moisture and road salt invites rust formation. Paint preservation and exterior panel straightening not only maintain the visual appeal of your car but also protect its long-term resale value. Resolving these issues ranges from simple touch-up paint applications to extensive panel reshaping and clear-coat spraying.
Correcting Surface Defects and Restoring Finish
-
Clean the damaged area thoroughly with isopropyl alcohol before applying touch-up paint to prevent trapping dirt and moisture beneath the finish.
-
Use paintless dent repair tools and specialized suction techniques on minor body dings where the paint layer remains fully intact.
-
Sand down rusted spots on steel body panels to bare metal, apply a rust-inhibiting primer, and finish with matching basecoat and clearcoat layers.
-
Polish the exterior clear coat using an orbital buffer and fine compound to remove swirl marks, minor oxidation, and light clear-coat scratches.
-
Entrust heavy panel replacement and color-matching paint work to specialized professionals trained in collision repairs to ensure seamless factory-like results.
Body Component Refinishing and Structural Panels
Accidents often leave vehicles with crushed bumpers, misaligned fenders, and shattered lighting assemblies. Beyond aesthetics, damaged body panels can rub against tires, block headlights, or allow rain to leak into the interior cabin. Replacing damaged components involves unbolting compromised panels, fitting original or aftermarket panels, and aligning gaps to ensure clean lines across the vehicle body.
Managing Panel Replacement and Alignment
-
Unbolt damaged panels carefully, saving specialized clips, plastic rivets, and fasteners for reuse during reassembly.
-
Test fit new panels before painting to verify that door gaps, hood lines, and headlight cutouts align evenly across all adjacent bodywork.
-
Apply seam sealer along internal panel joints to prevent water intrusion into structural interior cavities.
-
Replace damaged plastic bumper covers and inner fender liners to safeguard sensitive engine bay electronics from water spray.
-
Hand over extensive sheet metal work and structural alignment to certified technicians performing auto body repairs to guarantee structural safety.
Electrical, Cabin, and Lock System Troubleshooting
Resolving Vehicle Entry and Key Failures
Modern vehicles utilize complex electronic key fobs, transponder chips, and proximity sensors to manage door locks and engine mobilization. When a key fob stops working, drivers can find themselves locked out or unable to start their vehicle. While a dead fob battery is the most frequent culprit, issues can also stem from corrupted key programming, blown lock actuators, or physical key blade damage. Knowing how to troubleshoot entry components ensures you never remain stranded outside your vehicle.
Restoring Key Functionality and Lock Mechanism Operations
-
Replace the small coin-cell battery inside your key fob every two years as a preventative measure against sudden signal loss.
-
Use the physical emergency key blade hidden inside most proximity key fobs to manually unlock the driver-side door during electronic failures.
-
Inspect the door lock fuse in your internal fuse panel if all power locks fail simultaneously when pressing the interior switch.
-
Clean and lubricate door latch mechanisms with dry graphite spray or white lithium grease to prevent mechanical sticking in cold weather.
-
Contact professional auto locksmiths when key fobs require complete reprogramming, key blades need precise laser cutting, or transponder chips fail to communicate.
Upgrading and Maintaining Interior Accessories and Lighting
Vehicle comfort and convenience heavily rely on secondary systems like power windows, heated seats, infotainment screens, and auxiliary lighting. When these components fail, the issue is often traceable to blown fuses, broken wiring inside door jamb boots, or failed relay switches. Furthermore, adding modern aftermarket enhancements requires careful installation to avoid overloading the factory electrical harness.
Maintaining Comfort Systems and Electrical Circuits
-
Use a non-conductive fuse puller to inspect and replace blown spade fuses with new ones matching the exact amperage rating.
-
Inspect rubber door boots housing wire bundles for broken or pinched wires if power windows or speakers operate intermittently.
-
Upgrade dim halogen interior and exterior bulbs to energy-efficient LED alternatives to improve visibility and reduce electrical load.
-
Source high-quality interior components, specialized wiring adapters, and custom styling upgrades from reputable auto accessories stores.
-
Disconnect the negative battery terminal before performing any work on electrical accessories or wiring harnesses to prevent short circuits.
Maintaining a vehicle requires a combination of regular monitoring, prompt attention to minor faults, and a clear understanding of your personal mechanical limits. By identifying performance shifts, unusual noises, or warning lights early, you can tackle small repairs before they escalate into costly safety hazards. Whether you are swapping out spark plugs, restoring clarity to your paint finish, or diagnosing an electrical fault, taking an active role in your vehicle maintenance ensures a safer, smoother, and more reliable driving experience for every mile ahead.